Your camera, without the processing.
Native Camera was made to bypass the Pixel's video processing, the pipeline that makes skin look strange and over-sharpened. It happened to work well on other devices too!
8-bit or 10-bit HLG?
Better than stock, ready to use
8-bit video will generally give better results than the base camera app, with no extra work needed. The trade-off is adaptability: it has less latitude than 10-bit HLG, so blown-out highlights and heavy colour pushes are harder to recover.
Mouldable, made for grading
10-bit HLG is far more mouldable into what you want. It holds up better in the highlights and is perfect for matching your phone to dedicated cameras, or adjusting colour correction after the fact.
10-bit HLG looks good straight out of the phone
If you shoot 10-bit HLG, your clips should already look colour corrected on phones that support HDR. The screen tone-maps the HLG signal itself, so there's nothing you need to do before sharing.
Instagram accepts HLG uploads too: Reels supports HDR video, and HLG is the flavour it handles best, so footage from Native Camera can go straight into a Reel or Story and play back in full HDR on supported devices.
Only grading for SDR needs conversion. HLG footage looks washed out on non-HDR displays and in SDR timelines. That's expected. Use the Pixel LUT or the manual conversion below to bring it to Rec.709.
Free LUT: HLG to Rec.709, tuned for Pixel
This LUT converts 10-bit HLG footage from Native Camera into a corrected Rec.709 image in one step. It was designed on the Pixel 10, so that's where it will look most accurate, but it's a solid starting point for HLG footage from other devices too.
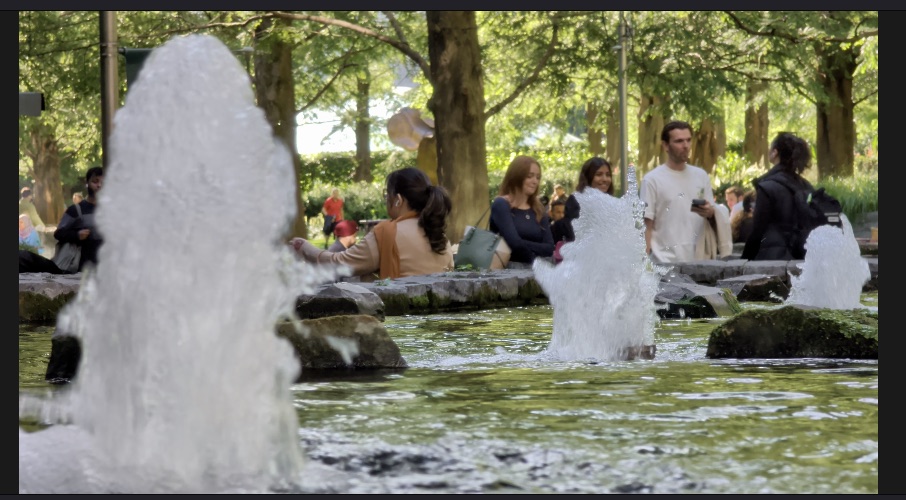
Native Camera HLG (Pixel Tuned) v1
A .cube file compatible with DaVinci Resolve, Premiere Pro, Final Cut Pro and most apps that support 3D LUTs. Apply it to HLG clips in a Rec.709 timeline.
Download the LUT (.cube, 5.9 MB)Manual conversion in DaVinci Resolve
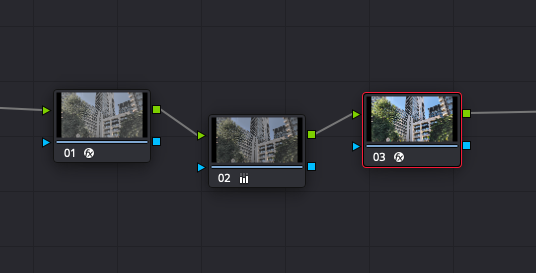
If you'd rather grade the footage yourself, this is the setup I personally use: two Colour Space Transform nodes with your colour adjustments on a node in between. Working in DaVinci Wide Gamut / DaVinci Intermediate keeps your grade flexible and makes it easy to match other cameras.
-
Node 01: Colour Space Transform in. Takes the HLG clip into a wide working space.
Input Colour SpaceRec.2100Input GammaRec.2100 HLGOutput Colour SpaceDaVinci Wide GamutOutput GammaDaVinci Intermediate
- Node 02: your grade. All colour correction and creative adjustments go on this middle node, so they happen in the wide working space rather than on the delivery image.
-
Node 03: Colour Space Transform out. Converts the graded image to standard delivery.
Input Colour SpaceDaVinci Wide GamutInput GammaDaVinci IntermediateOutput Colour SpaceRec.709Output GammaGamma 2.4
Stabilisation
We split the stability settings meaning you can use Electronic stability, Optical stability, both, or neither. On most phones you'll likely keep them both on for on the go shooting, but in some cases you'll want them split.
An example of this is the Pixel 10 Pro - it has odd jittery behaviour with the optical stability and I found that using EIS gives better results.
Found a bug? Please tell me.
Please get in touch with any bugs or issues, especially for support. I've tried to make Native Camera adaptable to as many phones as possible, but there are so many devices out there, each with its own quirks to get around, that for some I may have to manually get hold of the phone to fix it. Your reports are what make that possible.
Email support